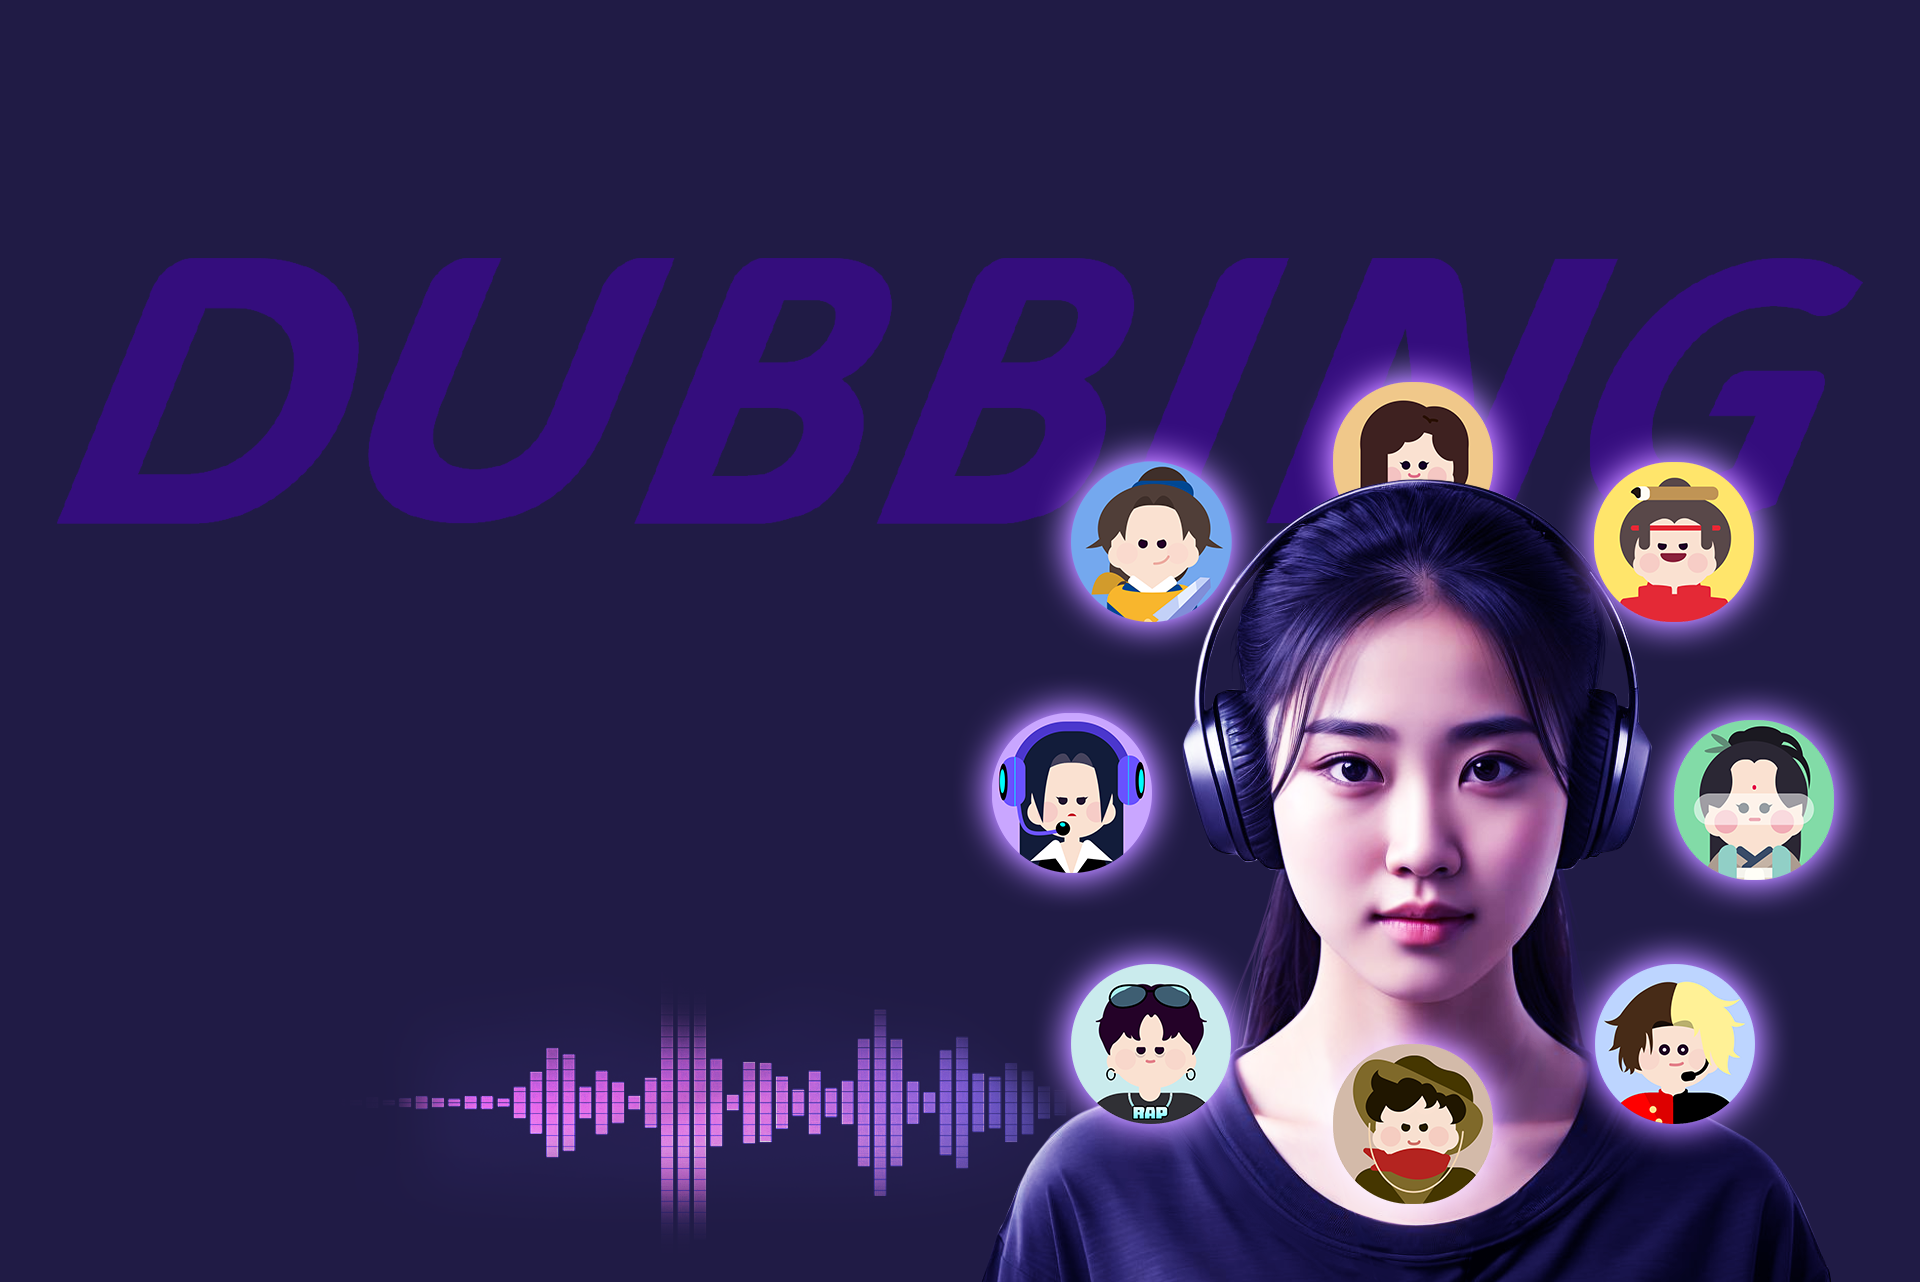
Dubbing AI transforms soundboard recording into a seamless process. It eliminates the complexities of traditional methods, allowing you to focus on creativity. With its advanced technology, you can achieve professional-grade results effortlessly. The software’s real-time voice changer and precise audio synchronization ensure high-quality output every time. Whether you are a content creator or a hobbyist, Dubbing AI empowers you to produce immersive soundboards with minimal effort. Ready to start? Let’s explore how you can record a soundboard using this innovative tool.
The Best AI Voice Changer with soundboard
Key Takeaways
Dubbing AI simplifies soundboard recording, allowing you to focus on creativity without the complexities of traditional methods.
Utilize Dubbing AI’s real-time voice modification to experiment with different tones and styles, enhancing your audio projects.
Ensure high-quality recordings by selecting a quiet environment and using reliable hardware like USB or XLR microphones.
Leverage the software’s multilingual support to create voiceovers that reach a broader audience, expanding your content’s impact.
Organize your soundboard files systematically to streamline your workflow and enhance the quality of your final output.
Take advantage of Dubbing AI’s built-in effects and automation features to save time and produce professional-grade audio effortlessly.
Understanding Dubbing AI for Soundboard Recording
What is Dubbing AI?
This tool allows you to transform your voice into various personas, from fictional characters to celebrities, making it ideal for creative projects. Whether you are recording soundboards for live streams, gaming, or professional presentations, Dubbing AI ensures seamless integration of sound effects and voice modifications.
Dubbing AI stands out as a versatile solution for anyone looking to produce dynamic and engaging audio experiences.
Why Use Dubbing AI for Soundboard Projects?
Dubbing AI simplifies the process of creating soundboards while delivering professional-grade results. Traditional soundboard recording often involves complex setups and time-consuming edits. With Dubbing AI, you can bypass these challenges. The software’s real-time voice-changing capabilities allow you to experiment with different tones and styles instantly. This flexibility helps you craft unique audio experiences tailored to your audience.
Additionally, Dubbing AI enhances the entertainment value of your projects. By integrating sound effects and voice transformations, you can captivate listeners and keep them engaged. The software also supports multilingual dubbing, enabling you to reach a broader audience. Whether you are a content creator or a hobbyist, Dubbing AI provides the tools you need to elevate your soundboard projects.
Key Features of Dubbing AI for Soundboard Recording
Dubbing AI offers a range of features that make it a powerful tool for soundboard recording:
Dubbing AI offers a range of features that make it a powerful tool for soundboard recording: – Real-Time Voice Modification: Instantly change your voice to match various characters or personas, adding depth to your recordings.
Seamless Sound Effect Integration: Easily incorporate sound effects and audio clips into your projects for a polished result.
AI-Powered Synchronization: Ensure precise alignment of audio with video or other content, enhancing the overall quality.
Multilingual Support: Create voiceovers in multiple languages, expanding your content’s reach.
User-Friendly Interface: Navigate the software effortlessly, even if you have no prior experience with audio editing.
These features make Dubbing AI a must-have tool for anyone aiming to produce high-quality soundboards. Its ability to combine advanced technology with ease of use sets it apart from traditional methods.
Tools and Setup for Soundboard Recording

Essential Hardware for Soundboard Recording
To begin your soundboard recording journey, you need the right hardware. A reliable microphone is essential. Choose one that captures clear and crisp audio. USB microphones are a great option for beginners due to their ease of use and affordability. For professionals, XLR microphones offer superior sound quality.
A good pair of headphones is equally important. They help you monitor your recordings and detect any unwanted noise or distortion. Look for headphones with noise-canceling features to ensure accurate audio monitoring.
You also need a computer or mobile device compatible with Dubbing AI. The software works seamlessly on platforms like Windows, Mac, Android, and iOS. Ensure your device has sufficient processing power to handle the software efficiently. Fortunately, Dubbing AI is lightweight and uses only 3-5% of your CPU, so it won’t slow down your system.
Lastly, consider investing in an audio interface if you’re using an XLR microphone. This device connects your microphone to your computer and enhances the overall audio quality.
Software Setup and Configuration
Setting up Dubbing AI is straightforward. Start by downloading and installing the software on your device. Follow the on-screen instructions to complete the installation process. Once installed, launch the application and explore its user-friendly interface.
Next, configure the software to suit your recording needs. Begin by selecting the desired voice from over 1,000 available tones. You can also customize the voice to match specific requirements. Adjust the settings for real-time voice modification and sound effect integration. These features allow you to create dynamic and engaging soundboards effortlessly.
Ensure your microphone and headphones are properly connected to your device. Test the audio input and output settings within the software to confirm everything is working correctly. If you encounter any issues, refer to the comprehensive guidebook provided by Dubbing AI.
Preparing Your Soundboard for Recording
Before you start recording, organize your soundboard. Decide on the audio clips and effects you want to include. Use Dubbing AI’s intuitive soundboard feature to integrate these elements seamlessly. This tool lets you arrange and manage your audio files efficiently.
Create a checklist of the prompts or sentences you plan to record. This ensures you capture all the necessary content without missing any details. Practice your delivery to maintain consistency and clarity throughout the recording process.
Finally, test your setup by recording a short sample. Play it back to check the audio quality and make any necessary adjustments. Once satisfied, you’re ready to start recording your soundboard with Dubbing AI.
Step-by-Step Guide to Record a Soundboard with Dubbing AI

Prepare a Virtual Audio Cable
To begin, you need to set up a virtual audio cable. This software acts as a bridge between your computer’s audio input and output, ensuring seamless sound transmission. Download and install a reliable virtual audio cable tool compatible with your operating system. Once installed, configure it to route the audio from your microphone or other input devices directly into the Dubbing AI software.
Open the virtual audio cable settings and select the input and output devices you plan to use. For example, choose your microphone as the input source and the virtual cable as the output. This setup ensures that the AI voice recorder tools capture clean and uninterrupted audio. Test the configuration by speaking into your microphone and monitoring the audio flow within the software. Adjust the volume levels to avoid distortion or clipping during the recording process.
“A well-configured virtual audio cable is the backbone of a smooth dubbing process. It ensures that your recordings are clear and professional.”
Finish Voice Setting
Once the virtual audio cable is ready, move on to configuring your voice settings in Dubbing AI. Start by selecting a voice profile that matches your project’s requirements. The software offers a vast library of AI generated voices, ranging from natural tones to creative personas. You can also use the AI voice generator to customize a unique voice tailored to your needs.
To record a soundboard using Dubbing AI, begin by configuring your voice settings. First, ensure the virtual audio cable is set as the system’s audio output. Then, select Dubbing AI as the audio input to process and transform your voice. This setup enables seamless recording of the transformed audio. Fine-tune the settings within Dubbing AI to match your desired voice effect, and test the configuration for clarity and precision. Once everything is set, you can easily record high-quality audio clips directly from the soundboard, capturing the unique transformed voice to enhance your content or share with others effortlessly.
Recording and Monitoring Your Soundboard
With everything set up, you are ready to start recording. Open the soundboard feature in Dubbing AI and organize your audio clips. Use the intuitive interface to arrange the clips in the desired order. This organization helps you maintain a smooth workflow during the recording session.
Press the record button and begin speaking or playing the audio clips through the virtual audio cable. The AI voice recorder will capture the input and apply the selected voice settings in real time. Monitor the recording process using headphones to ensure that the audio quality meets your expectations. Pay attention to any background noise or inconsistencies and make adjustments as needed.
If you want to record perfect audio, take breaks between recordings to review and refine your work. Use the playback feature to listen to each segment and identify areas for improvement. Once you have completed the recording, save the file in your preferred format. The software supports various export options, making it easy to integrate the soundboard into your projects.
“Monitoring your recordings is essential for achieving high-quality results. It allows you to identify and fix issues before finalizing your soundboard.”
Saving and Exporting Your Soundboard Recording
Once you finish recording your soundboard, the next step is saving and exporting your work. This process ensures that your audio files are ready for use in various projects or platforms. With Dubbing AI, saving and exporting is straightforward and efficient.
Start by reviewing your recorded soundboard. Use the playback feature to listen to each segment. Check for any inconsistencies or errors. If you notice issues, make adjustments before proceeding. This step guarantees that your final output meets the standards of high-quality audio.
After confirming the quality, navigate to the export settings in the AI dubbing software. Select the desired file format for your soundboard. Common formats include MP3, WAV, and AAC. Each format serves different purposes. For instance, MP3 is ideal for sharing online due to its smaller file size, while WAV offers superior audio quality for professional use.
Customize the export settings to match your project requirements. Adjust the bitrate and sample rate to optimize the audio quality. Higher settings result in better sound but may increase the file size. Strike a balance based on your needs. If your project involves dubbing into other languages, ensure the exported file retains clarity and synchronization.
When exporting, consider organizing your files systematically. Use descriptive names for each file to simplify identification. Create folders for different projects or categories. This practice helps you manage your soundboard recordings efficiently, especially when working on multiple tasks.
Finally, save your soundboard to a secure location. Use cloud storage services or external drives to back up your files. This precaution protects your work from accidental loss. Once saved, you can use the soundboard to dub your videos, create high-quality dubbed content, or enhance your projects with engaging ai voiceover elements.
“A well-organized and properly exported soundboard ensures seamless integration into your creative projects.”
By following these steps, you can maximize the potential of your soundboard recordings. Whether you aim to explore ai voice cloning online or produce professional-grade voiceover content, Dubbing AI provides the tools you need to succeed.
Tips for High-Quality Soundboard Recordings

Optimizing Audio Quality with Dubbing AI
Achieving high-quality audio begins with proper optimization. Start by selecting a quiet recording environment. Background noise can interfere with your soundboard recordings, reducing their clarity. Use a reliable microphone that captures crisp and detailed sound. Test your microphone settings before recording to ensure the input levels are neither too low nor too high.
Leverage the advanced features of Dubbing AI to enhance your audio. The tool offers real-time noise reduction, which eliminates unwanted sounds during recording. Adjust the equalizer settings to balance frequencies and improve the overall tone of your recordings. Experiment with the pitch and speed controls to match the desired style of your soundboard.
Monitor your recordings using headphones. This practice helps you identify issues like distortion or inconsistencies early. Save your progress frequently to avoid losing valuable work. By using Dubbing AI effectively, you can produce professional-grade audio that stands out.
“High-quality audio is the foundation of an engaging soundboard. Proper optimization ensures your recordings meet professional standards.”
Organizing and Managing Soundboard Files
Efficient organization of your soundboard files simplifies your workflow. Begin by creating a dedicated folder for your project. Use subfolders to categorize audio clips based on themes, characters, or usage. This structure makes it easier to locate specific files when needed.
Name your files descriptively. Avoid generic names like “clip1” or “audio2.” Instead, use labels that reflect the content, such as “hero_intro” or “background_music.” Consistent naming conventions prevent confusion and save time during editing.
Take advantage of Dubbing AI’s built-in file management features. The tool allows you to tag and sort audio clips directly within the software. Use these options to streamline your workflow further. Back up your files regularly to cloud storage or external drives. This precaution protects your work from accidental loss.
Organized soundboard files not only improve efficiency but also enhance the quality of your final output. A well-managed library ensures you can focus on creativity without distractions.
Leveraging AI Features for Enhanced Results
AI dubbing technology offers powerful tools to elevate your soundboard projects. Use the AI voiceover generator to create unique and dynamic audio effects. This feature allows you to transform your voice into various personas, adding depth and variety to your recordings.
Explore the localization and dubbing capabilities of Dubbing AI. These tools enable you to produce multilingual soundboards, expanding your reach to global audiences. Adjust the timing and emotion of your voiceovers to match the context of your project. This attention to detail ensures a seamless and engaging experience for listeners.
Incorporate AI-driven enhancements like automatic synchronization. This feature aligns your audio with video or other content effortlessly. Experiment with built-in effects to add creativity and polish to your soundboard. By leveraging these AI features, you can achieve results that rival professional studios.
“AI technology empowers you to push the boundaries of creativity. Use its features to produce soundboards that captivate and inspire.”
Troubleshooting Common Issues in Soundboard Recording
Resolving Audio Quality Problems
Audio quality issues can disrupt your soundboard recording experience. To address these problems, start by examining your recording environment. A quiet space minimizes background noise and ensures clarity. Use a high-quality microphone to capture detailed sound. Test your microphone settings before recording to confirm proper input levels.
Leverage the noise reduction feature in Dubbing AI to eliminate unwanted sounds during recording. This tool enhances the clarity of your audio by filtering out distractions. Adjust the equalizer settings to balance frequencies and improve tonal quality. Monitoring your recordings with headphones helps you identify distortions or inconsistencies early. If issues persist, consider updating your audio drivers or checking for hardware malfunctions.
“Clear and crisp audio forms the foundation of a professional soundboard. Optimizing your setup ensures consistent quality.”
Fixing Software or Hardware Compatibility Issues
Compatibility issues between your software and hardware can hinder your progress. Begin by verifying that your device meets the system requirements for Dubbing AI. Ensure your operating system is up-to-date to avoid conflicts. If you encounter errors, reinstall the software to resolve potential installation issues.
Check the connections of your hardware components. Loose cables or faulty ports can disrupt the recording process. For XLR microphones, use an audio interface to ensure compatibility with your computer. Virtual audio cables must also be configured correctly to route sound seamlessly into the software.
Dubbing AI supports multiple platforms, including Windows, Mac, Android, and iOS. If you face compatibility challenges, consult the user guide or contact customer support for assistance. Regular updates to the software often include fixes for known issues, so keep your version current.
Addressing Errors During Recording or Exporting
Errors during recording or exporting can waste valuable time. To prevent these issues, save your work frequently. This practice protects your progress in case of unexpected interruptions. If the software crashes during recording, check your device’s available memory. Insufficient storage can cause instability.
When exporting your soundboard, choose the appropriate file format for your project. Dubbing AI supports formats like MP3, WAV, and AAC. Incorrect settings during export can lead to poor-quality output. Adjust the bitrate and sample rate to match your requirements. Higher settings produce better sound but may increase file size.
Organize your files systematically to avoid confusion. Use descriptive names and folders to categorize your recordings. If you encounter errors during export, review the software’s export settings. Ensure all configurations align with your project needs. For persistent issues, refer to the troubleshooting section in the user manual or seek technical support.
“Proactive measures during recording and exporting safeguard your work and ensure a smooth workflow.”
By exploring these features, you can push the boundaries of creativity and produce soundboards that captivate and inspire.
You now have the tools and knowledge to record a professional soundboard using Dubbing AI. By following the outlined steps, you can create dynamic audio content with ease. The intuitive interface, real-time voice changer, and advanced features make this software a game-changer for soundboard projects. Whether you aim to enhance your creativity or improve your workflow, Dubbing AI empowers you to achieve high-quality results effortlessly. Explore its advanced capabilities, including dubbing and localization, to expand your reach and elevate your projects. Start your soundboard recording journey today and unlock endless possibilities.
FAQ
What is Dubbing AI, and how does it work?
Dubbing AI is an advanced tool that uses artificial intelligence to transform and enhance audio content. It allows you to modify your voice in real time, offering a wide range of personas and tones. The software integrates sound effects and audio clips seamlessly, making it ideal for live streams, recordings, and other creative projects. Its intuitive interface ensures that even beginners can use it effectively.
“Dubbing AI simplifies audio editing, enabling you to focus on creativity while achieving professional results.”
Can I use Dubbing AI for live video production?
Yes, Dubbing AI is perfect for live video production. Its real-time voice-changing feature lets you adjust your voice instantly during live sessions. You can also integrate sound effects and audio clips effortlessly, keeping your audience engaged. This makes it a valuable tool for creators looking to elevate their live shows or presentations.
Do I need professional equipment to use Dubbing AI?
No, you don’t need professional equipment to get started with Dubbing AI. A reliable USB microphone and a good pair of headphones are enough for most users. However, if you aim for higher-quality recordings, consider using an XLR microphone with an audio interface. The software works efficiently on standard computers and mobile devices, so you don’t need high-end hardware.
How does Dubbing AI improve the quality of my recordings?
Dubbing AI enhances your recordings through features like real-time noise reduction, pitch adjustment, and automatic synchronization. These tools ensure clear and polished audio output. You can also experiment with built-in effects to add depth and emotion to your recordings. By optimizing these settings, you can achieve professional-grade results effortlessly.
Can I create multilingual content with Dubbing AI?
Yes, Dubbing AI supports multilingual dubbing. You can generate voiceovers in multiple languages, making it easier to connect with global audiences. The software preserves the tone and emotion of the original content, ensuring authenticity. This feature is especially useful for creators involved in video production or international projects.
Is Dubbing AI suitable for beginners?
Absolutely. Dubbing AI is designed with a user-friendly interface, making it accessible to beginners. The setup process is straightforward, and the software provides step-by-step guidance for recording and editing. Even if you have no prior experience with audio tools, you can start creating high-quality soundboards and voiceovers quickly.
What should I do if I encounter issues while using Dubbing AI?
If you face any challenges, start by checking your hardware and software setup. Ensure your microphone and headphones are connected properly, and verify that your device meets the system requirements. Dubbing AI also provides a comprehensive user guide and customer support to help you resolve issues. Regular updates to the software often include fixes for common problems.
Can I use Dubbing AI for professional projects?
Yes, Dubbing AI is suitable for both personal and professional projects. Its advanced features, such as real-time voice transformation and seamless sound effect integration, make it a powerful tool for professional use. Whether you’re working on video production, podcasts, or presentations, Dubbing AI helps you deliver high-quality results.
How does Dubbing AI save time during audio editing?
Dubbing AI automates repetitive tasks like pitch adjustment and synchronization. These features eliminate the need for manual edits, allowing you to focus on creativity. The software also organizes and manages your audio files efficiently, streamlining your workflow. By using Dubbing AI, you can complete projects faster without compromising quality.
What makes Dubbing AI stand out from other audio tools?
Dubbing AI stands out due to its real-time voice-changing capabilities and intuitive design. It offers a vast library of voice profiles and built-in effects, giving you creative freedom. The software also supports multilingual dubbing and localization, making it versatile for various projects. Its ability to combine advanced technology with ease of use sets it apart from traditional audio tools.
See Also
Exploring Innovative Opportunities in Voice Dubbing Technology
Dubbing AI: The Perfect Answer for Voice Translation Needs
Harnessing Dubbing AI’s Potential: Voice Cloning and Beyond
Elevate Your Gaming Experience with Dubbing AI Audio Tools
2024 Handbook: Utilizing Dubbing AI for Instant Voice Changes on Discord
Related Posts