
Did you know you can give Siri a whole new personality? With a few tweaks, you can change Siri’s voice to something that feels more personal and fun. Whether you’re into AI-generated voices or prefer a unique customization, the process is surprisingly simple. Ready to learn how to change Siri voice? Let’s dive in!
Key Takeaways
Make sure your device works with Siri changes. Update to the newest iOS to get all features.
Try Apple’s Personal Voice to make Siri sound like you. Record sentences in a quiet place for better quality.
Add your voice in Siri settings and try it out. Change settings until Siri sounds perfect for you.
Step 1: Prepare Your Device
Before diving into advanced voice customization, you need to ensure your device is ready. A little preparation goes a long way in making the process smooth and hassle-free. Let’s get started!
Check Device Compatibility for Siri Customization
Not all devices support advanced voice customization. You’ll need an iPhone, iPad, or Mac running a relatively recent version of iOS or macOS. If you’re unsure, check Apple’s official website for a list of compatible devices. Older models may not support features like linking Siri shortcuts or creating automated tasks with AI-generated voices.
Tip: If you’re using an older device, consider upgrading to unlock the full potential of Siri’s customization features.
Update to the Latest iOS Version for Access to Personal Voice
To access Apple’s Personal Voice feature, your device must run the latest iOS version. Go to Settings > General > Software Update and check for updates. Keeping your software up-to-date ensures you can explore all the new AI-powered tools and features.
Enable Permissions for Third-Party Apps (if needed)
Some advanced voice customization tools may require third-party apps. These apps often need permissions to access your microphone or storage. To enable permissions, go to Settings > Privacy & Security and review app access. This step is crucial if you plan to use AI tools for automation or to create automated tasks.
Note: Always download apps from trusted sources to protect your data and privacy.
By following these steps, you’ll set the stage for a seamless Siri voice transformation. Ready to move on? Let’s create your custom AI voice in the next step!
Step 2: Install or Create a Custom AI Voice

Now that your device is ready, it’s time to dive into the fun part—creating or installing custom AI voices for Siri. Whether you want to use Apple’s built-in tools or explore third-party options, this step will help you bring your unique Siri voice to life.
Use Apple’s Personal Voice Feature to Create a Custom Siri Voice
Apple’s Personal Voice feature is a game-changer. It allows you to create a voice that sounds just like you! To get started, go to Settings > Accessibility > Personal Voice. Follow the prompts to record a series of phrases. Apple’s AI will analyze your recordings and generate a custom voice that mimics your tone and style.
Pro Tip: Make sure you record in a quiet space for the best results. This ensures your custom AI voice sounds clear and natural.
Explore Third-Party Tools for Voice Cloning and AI Voice Generation
If you’re looking for more options, third-party tools can help you create unique AI voices. Popular platforms like Voicemaker and TopMediai specialize in AI voice cloning. These tools let you experiment with different tones, accents, and styles. Simply upload a sample recording, and the AI will generate a custom voice for you.
Note: Some tools may require a subscription or one-time payment. Always review the terms before proceeding.
Export the Custom Voice File in a Siri-Compatible Format
Once you’ve created your custom AI voice, the next step is exporting it in a format Siri can use. Most tools will provide options to save your file as an M4A or AAC file. After exporting, save the file to your device or cloud storage for easy access during setup.
Reminder: Keep your file organized and labeled clearly. This will make it easier to find when you’re ready to upload it to Siri.
With your custom AI voice ready, you’re one step closer to transforming Siri into a personalized assistant. Let’s move on to the final step—setting up your new voice in Siri!
Step 3: Set Up the Custom Voice in Siri

You’ve created your custom AI voice—now it’s time to bring it to life in Siri! This step will guide you through uploading and fine-tuning your new voice so Siri sounds exactly how you want.
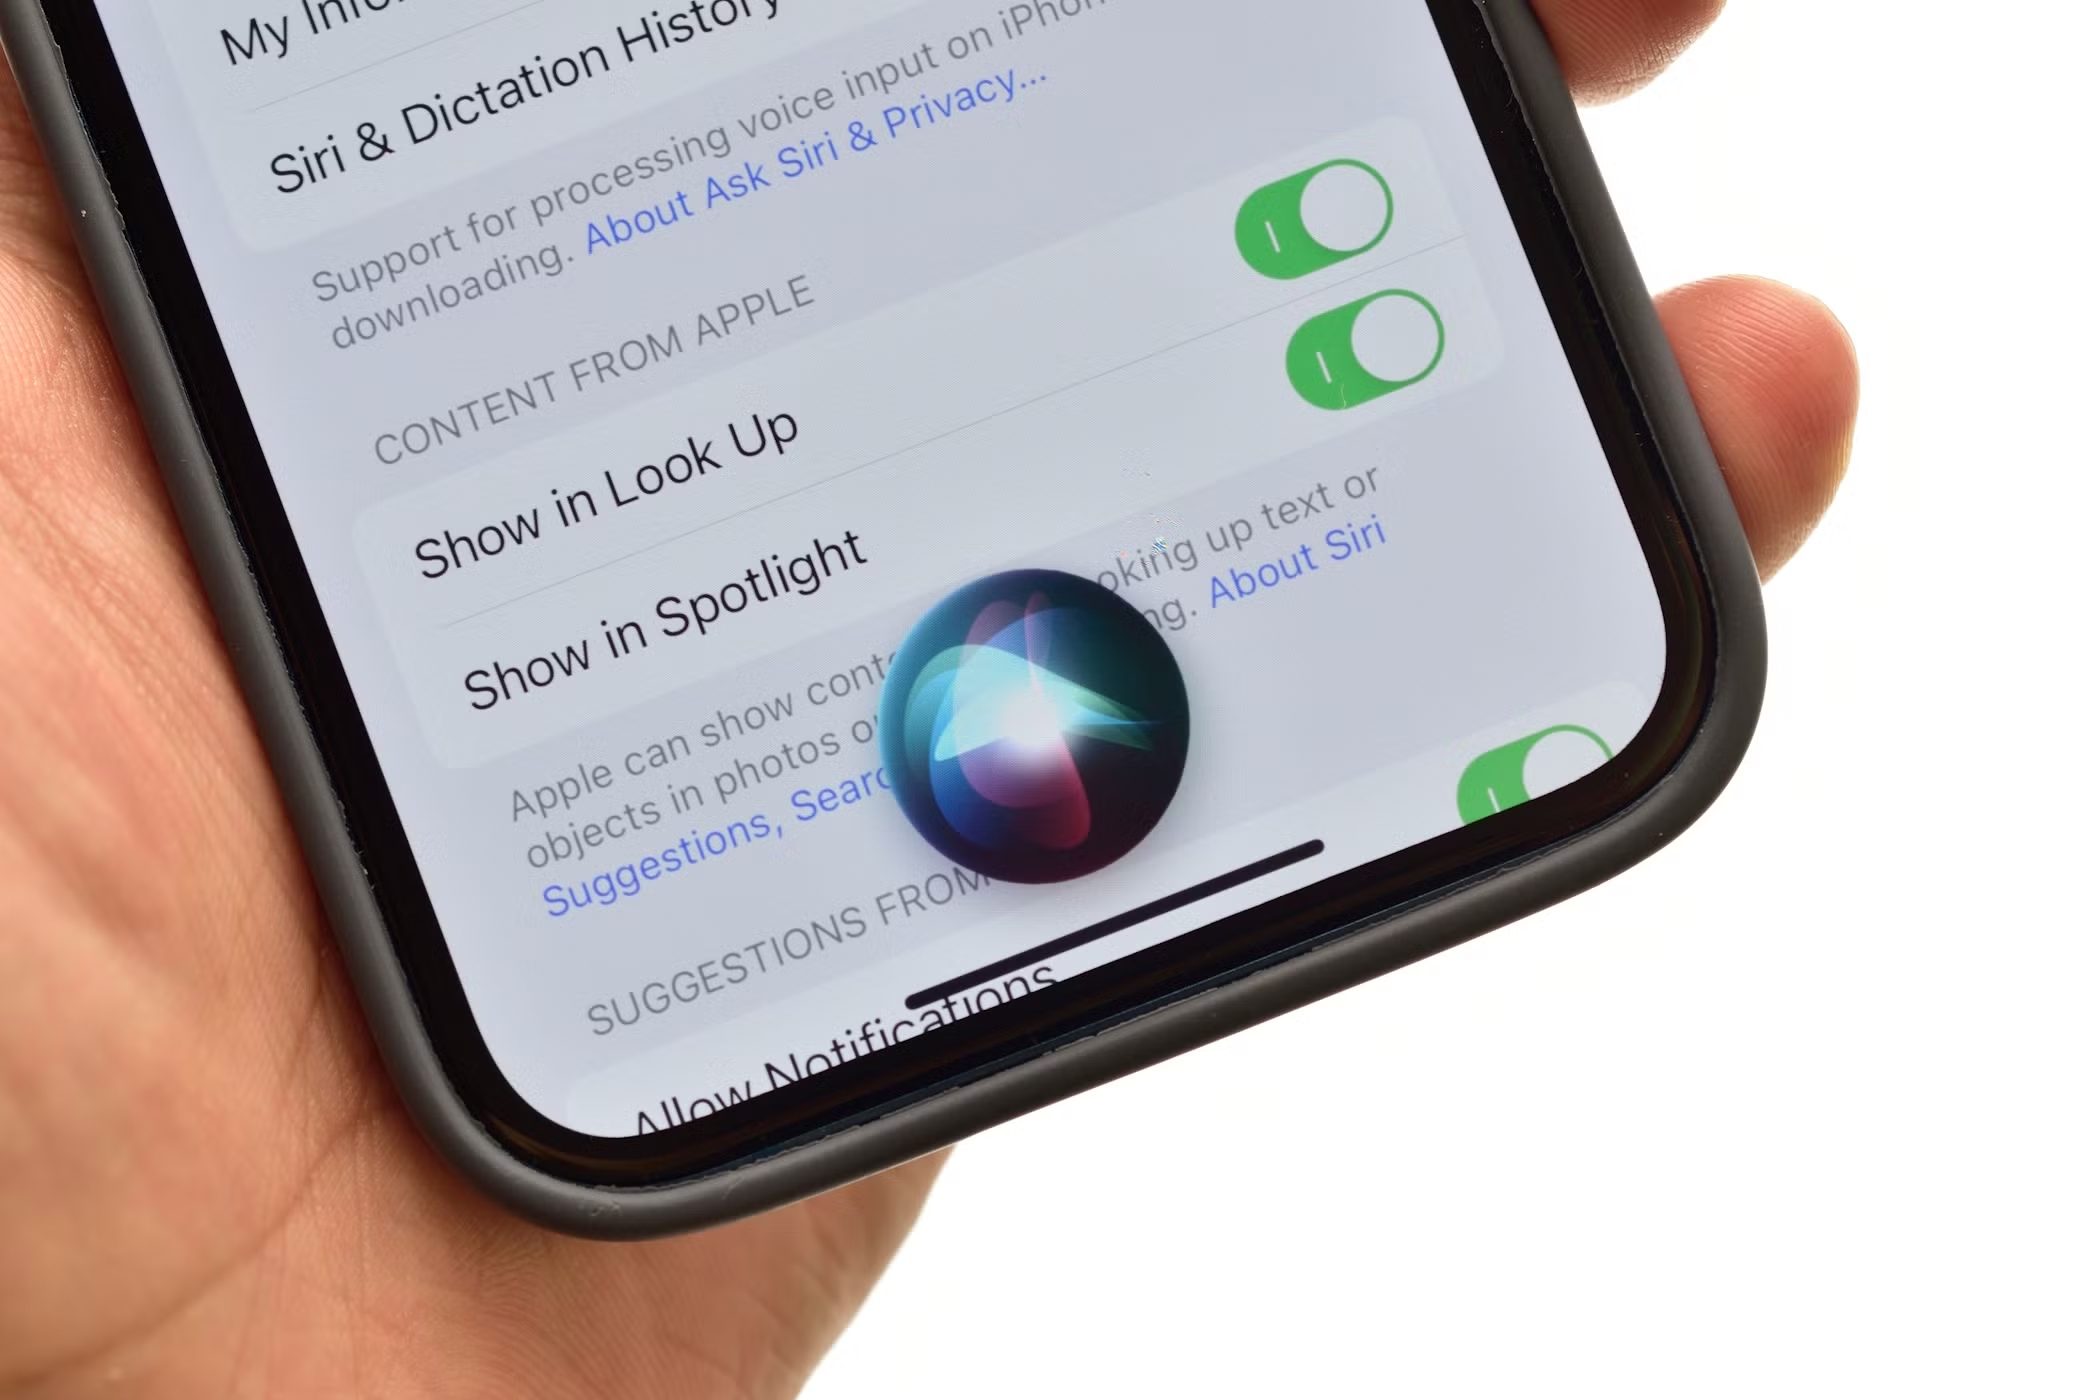
Navigate to Siri & Search Settings on Your Device
Start by opening the Settings app on your device. Scroll down and tap on Siri & Search. This is where all Siri-related customization happens. From here, you can manage Siri’s voice, language, and other preferences. Make sure you’re in the right section before moving forward.
Tip: If you don’t see the option to change Siri’s voice, double-check that your device is updated to the latest iOS version.
Upload and Select the Custom AI Voice
Once you’re in the Siri settings, look for the Voice or Personal Voice option. Tap it, and you’ll see an option to upload your custom AI voice file. Select the file you exported earlier and follow the on-screen instructions to complete the upload. Siri will process the file and integrate it into its system.
Note: The upload process might take a few minutes, depending on the size of your file. Be patient and let Siri work its magic.
Test and Adjust the New Siri Voice for Accuracy
After uploading, it’s time to test your new Siri voice. Activate Siri by saying, “Hey Siri,” or using your preferred shortcut. Ask a few questions or give commands to hear how it sounds. If something feels off, go back to the settings and make adjustments. You can re-upload the file or tweak the voice settings until it’s perfect.
Pro Tip: Experiment with different phrases to ensure Siri responds naturally in various scenarios.
And that’s it! You’ve successfully transformed Siri into a personalized assistant with a custom AI voice. Now, every interaction with Siri will feel more unique and tailored to your style.
Looking to Mimic Siri’s Voice? Try Dubbing AI!
If you’re fascinated by Siri’s voice and want to replicate it for your projects, Dubbing AI is a fantastic tool to explore. It’s user-friendly and packed with features that make voice customization a breeze. Let’s take a closer look at what it offers and how you can use it.
Dubbing AI Features
Dubbing AI stands out for its versatility and ease of use. Here are some of its key features:
Voice Cloning: You can create a near-perfect replica of Siri’s voice or any other voice you like.
AI-Powered Editing: Fine-tune the tone, pitch, and speed of the voice to match your needs.
Multiple Language Support: Generate voices in different languages and accents.
Integration with Shortcuts: Seamlessly link your custom voice to Siri shortcuts for added functionality.
Fun Fact: Dubbing AI uses advanced AI algorithms to ensure the voice sounds natural and lifelike.
Step-by-step Guide to Use Siri Voice by Dubbing AI
Sign Up and Upload: Create an account on Dubbing AI’s website. Upload a sample of Siri’s voice or any other voice you want to mimic.
Customize the Voice: Use the editing tools to adjust the voice’s tone, pitch, and speed. Experiment with different settings until it feels just right.
Export the Voice File: Save the customized voice file in a Siri-compatible format like M4A or AAC.
Integrate with Siri Shortcuts: Open your device’s Shortcuts app and link the custom voice to your favorite Siri commands.
Pro Tip: Test the voice with different shortcuts to ensure it works smoothly in various scenarios.
With Dubbing AI, you can create a custom voice that feels personal and unique. It’s a great way to add a creative touch to your Siri experience.
Changing Siri’s voice is easier than you might think. By following these three steps, you can prepare your device, create or install a custom AI voice, and set it up in Siri. This simple customization makes your assistant feel more personal. Try it today and explore custom Siri commands to enhance your experience!
FAQ
How long does it take to create a custom AI voice?
It usually takes about 15-30 minutes to record phrases and let the AI process them. The exact time depends on your device and recording quality.
Can I switch back to Siri’s default voice after customization?
Yes, you can! Go to Settings > Siri & Search > Voice and select one of Siri’s default options. Your custom AI voice won’t be deleted.
Are third-party AI tools safe to use?
Most reputable AI tools are safe, but always download them from trusted sources. Check reviews and permissions before installing to protect your data and privacy.
See Also
Transform Your Voice Using Dubbing AI’s Free Voice Changer
Explore Dubbing AI: The Top Celebrity Voice Changer App
The Premier Voice Changer for Discord: Dubbing AI
Related Posts